
Window Tint Drying Time: The Complete Guide to Proper Curing
Tint Integrity is a trusted provider of high-quality window tinting services, specializing in enhancing vehicle aesthetics, privacy, and UV protection. With expert installation and premium materials, they ensure long-lasting results for cars, homes, and businesses.
Top 3 Services:
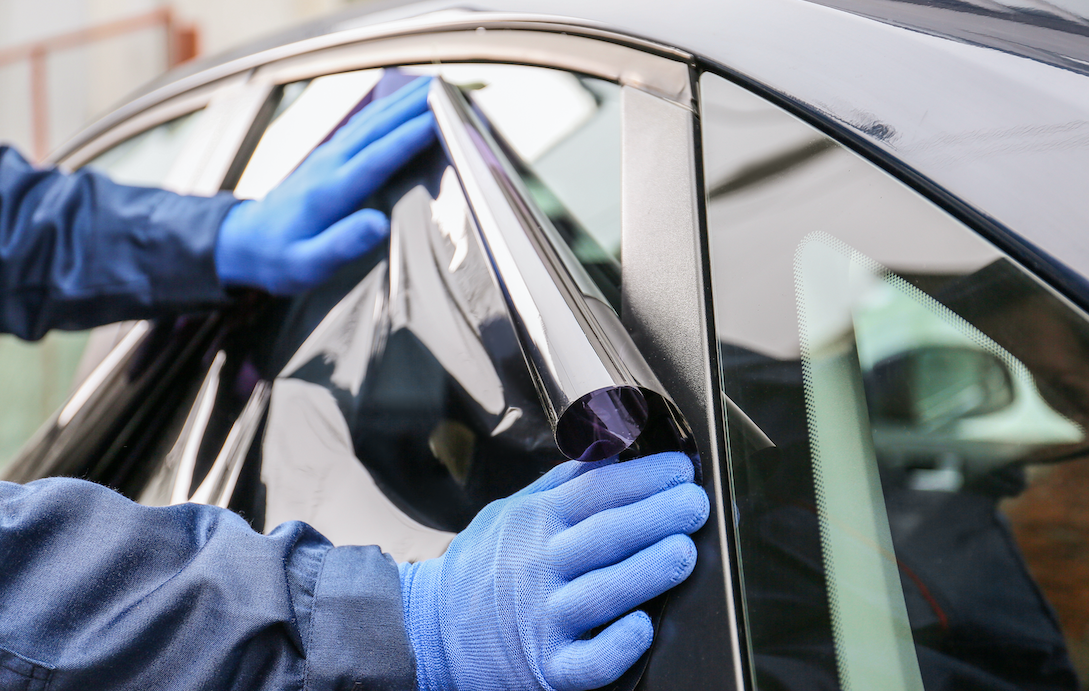
- Automotive Window Tint – Professional tinting for cars to reduce glare, block UV rays, and enhance privacy.
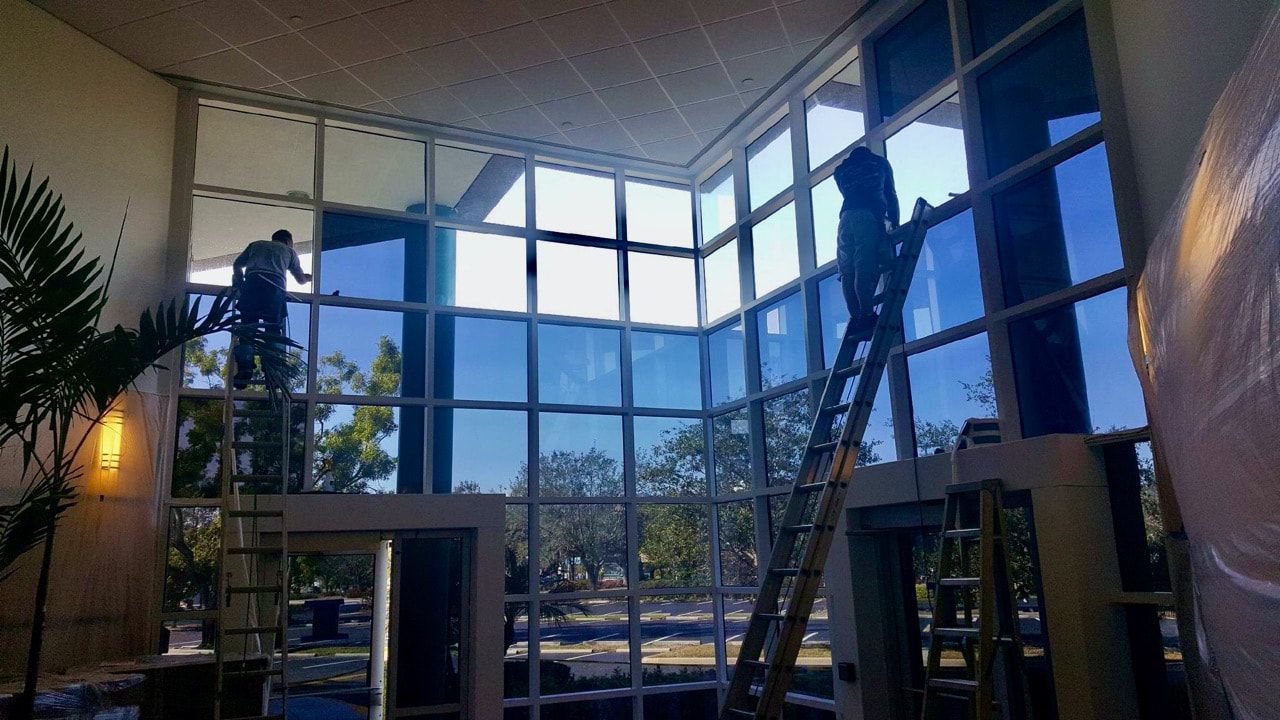
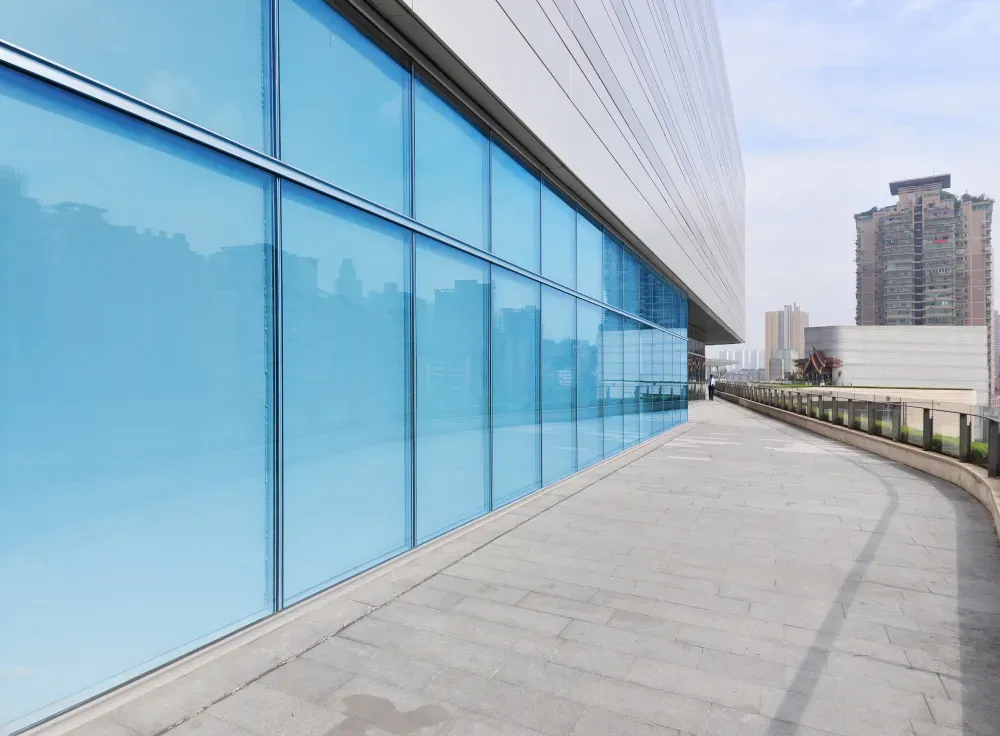
- Architectural Window Tint – Energy-efficient window films for homes and businesses to improve comfort and reduce heat.
Getting your car windows tinted is exciting, but waiting for the tint to dry can test your patience. Understanding the proper drying time is crucial for achieving lasting results and avoiding costly mistakes. Let's dive into everything you need to know about window tint drying time and when it's safe to roll down your windows.
Understanding Window Tinting Basics
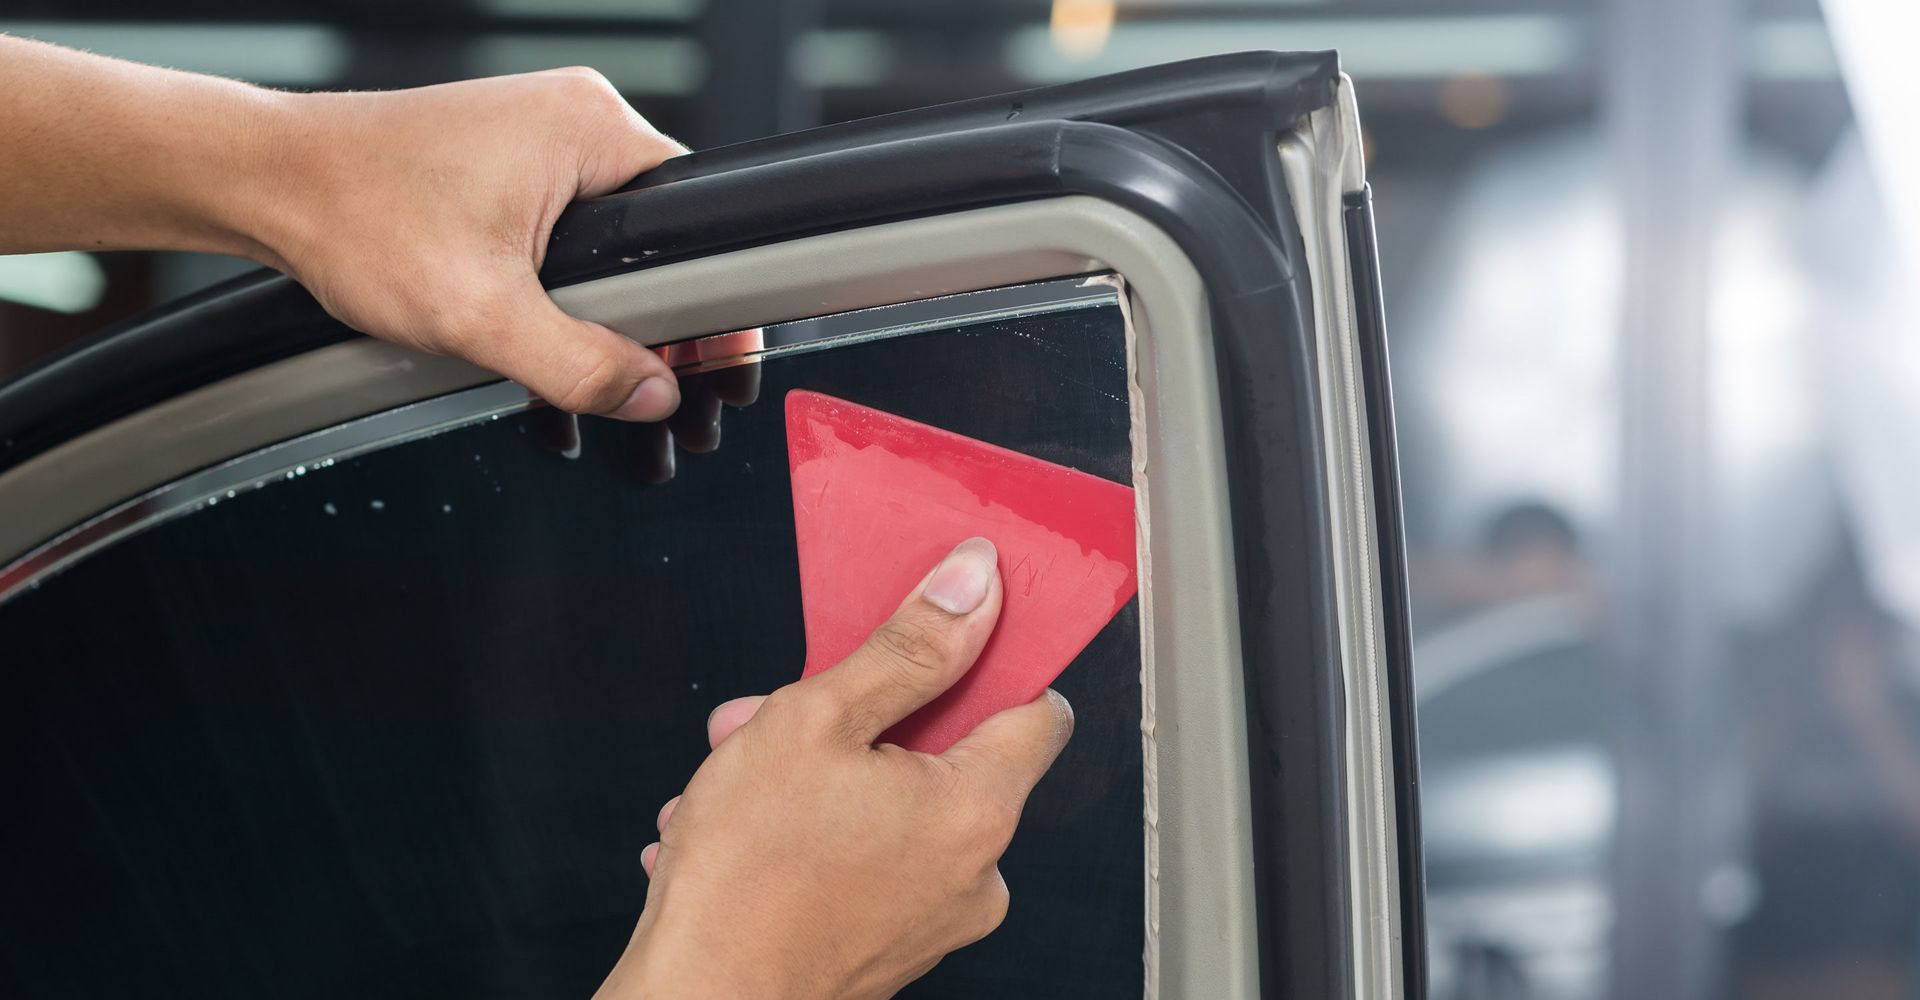
What is Window Tinting?
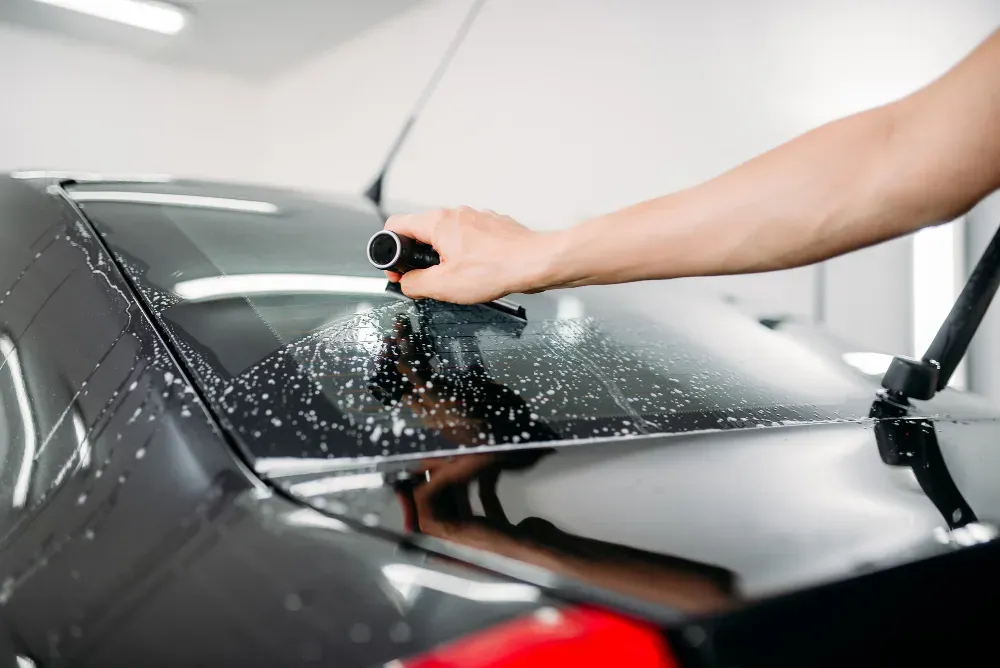
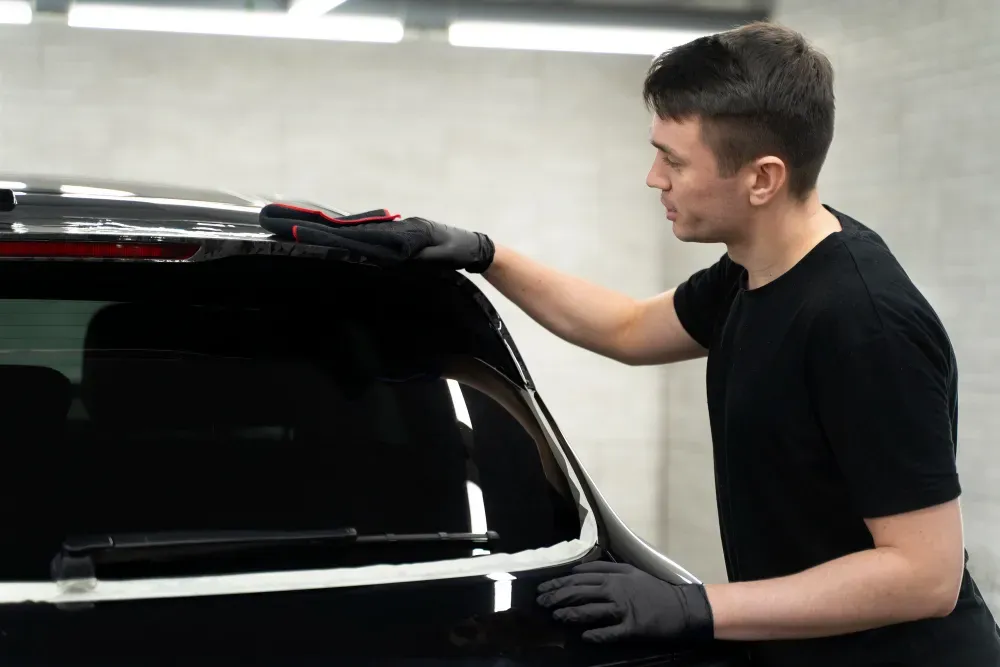
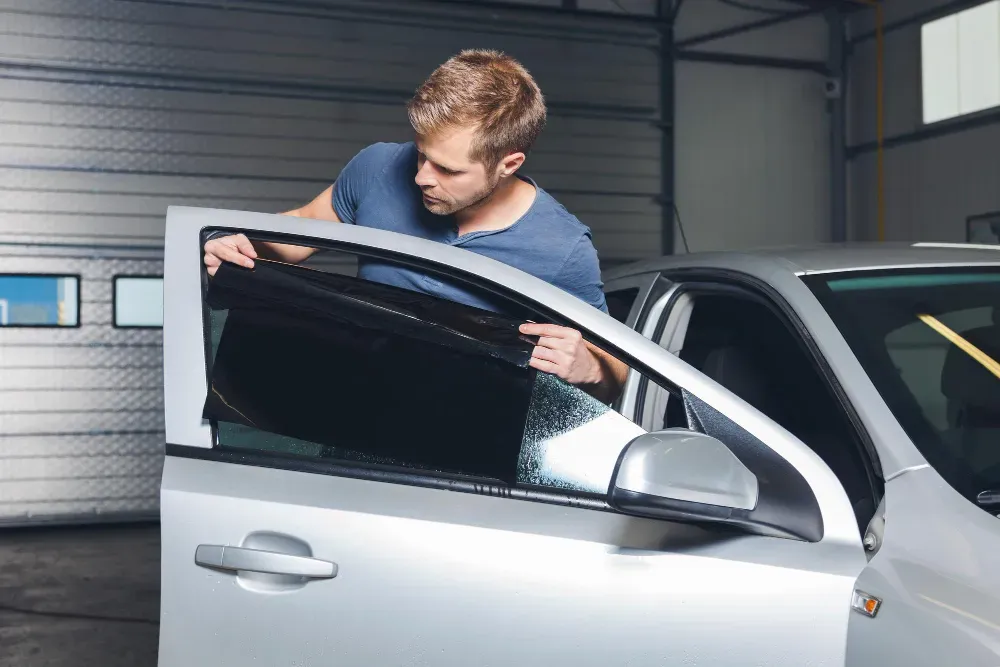
Window tinting involves applying a thin, specialized film to your car's windows. This isn't just about making your ride look cooler – it's a practical upgrade that offers UV protection, heat reduction, and improved privacy. Think of it as sunscreen for your car that never wears off.
Types of Window Tint Films
Different tint films have varying drying times. The main types include:
- Dyed film (most common and affordable)
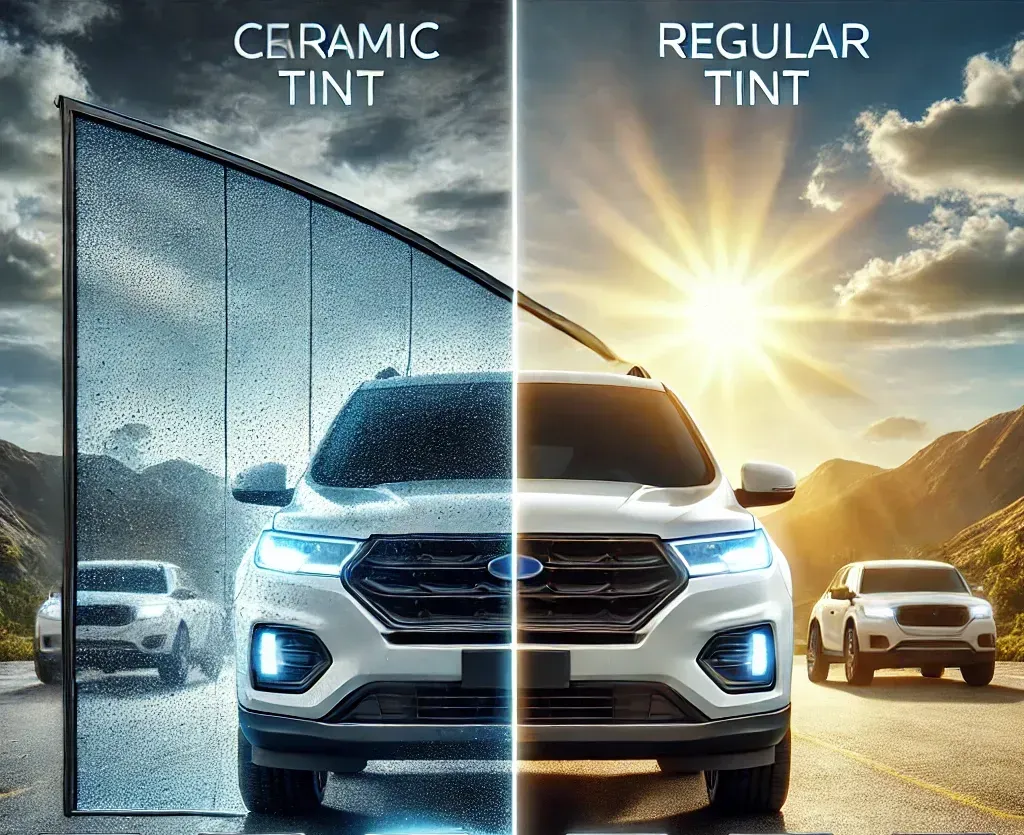
- Ceramic film (premium option with superior benefits)
- Carbon film (middle-range with good heat rejection)
- Metallic film (excellent heat reflection but may interfere with electronics)
Benefits of Window Tinting
Beyond the sleek appearance, window tinting offers:
- Up to 99% UV ray protection
- Significant heat reduction
- Enhanced privacy
- Improved glass shatter resistance
- Reduced glare while driving
Initial Drying vs. Complete Curing
The Initial Drying Phase
Right after installation, your window tint needs time to bond with the glass. The initial drying phase typically takes 24-48 hours. During this time, you'll notice a hazy or cloudy appearance – this is completely normal and temporary.
The Full Curing Process
Full curing takes longer than initial drying. Depending on various factors, complete curing can take:
- 2-4 days in summer conditions
- 3-4 weeks in winter conditions
- 7-10 days in moderate weather
Factors Affecting Drying Time
Several elements influence how quickly your tint dries:
- Ambient temperature
- Humidity levels
- Film quality and thickness
- Installation technique
- Direct sunlight exposure
When Can You Roll Down Your Windows?
The 2-4 Day Rule
The general rule of thumb is waiting 2-4 days before rolling down your windows. However, it's always better to err on the side of caution and wait longer if possible. Think of it like letting paint dry – rushing it only leads to problems.
Signs Your Tint Needs More Time
Watch for these indicators that your tint isn't fully cured:
- Bubbles or ripples in the film
- Wet spots or haziness
- Film feeling soft to touch
- Visible water pockets
Common Mistakes to Avoid
Don't fall into these common traps:
- Rolling windows down too soon
- Cleaning the windows prematurely
- Using harsh cleaning products
- Touching the film during curing
Weather and Environmental Factors
Temperature Impact
Temperature plays a crucial role in drying time:
- Ideal temperature: 70-80°F (21-27°C)
- Higher temperatures speed up drying
- Lower temperatures significantly slow the process
Humidity Effects
High humidity extends drying time because:
- Moisture takes longer to evaporate
- Water can get trapped between film and glass
- Adhesive curing slows down
Seasonal Considerations
Plan your tinting based on the season:
- Summer: Fastest drying time
- Spring/Fall: Moderate drying time
- Winter: Longest drying time
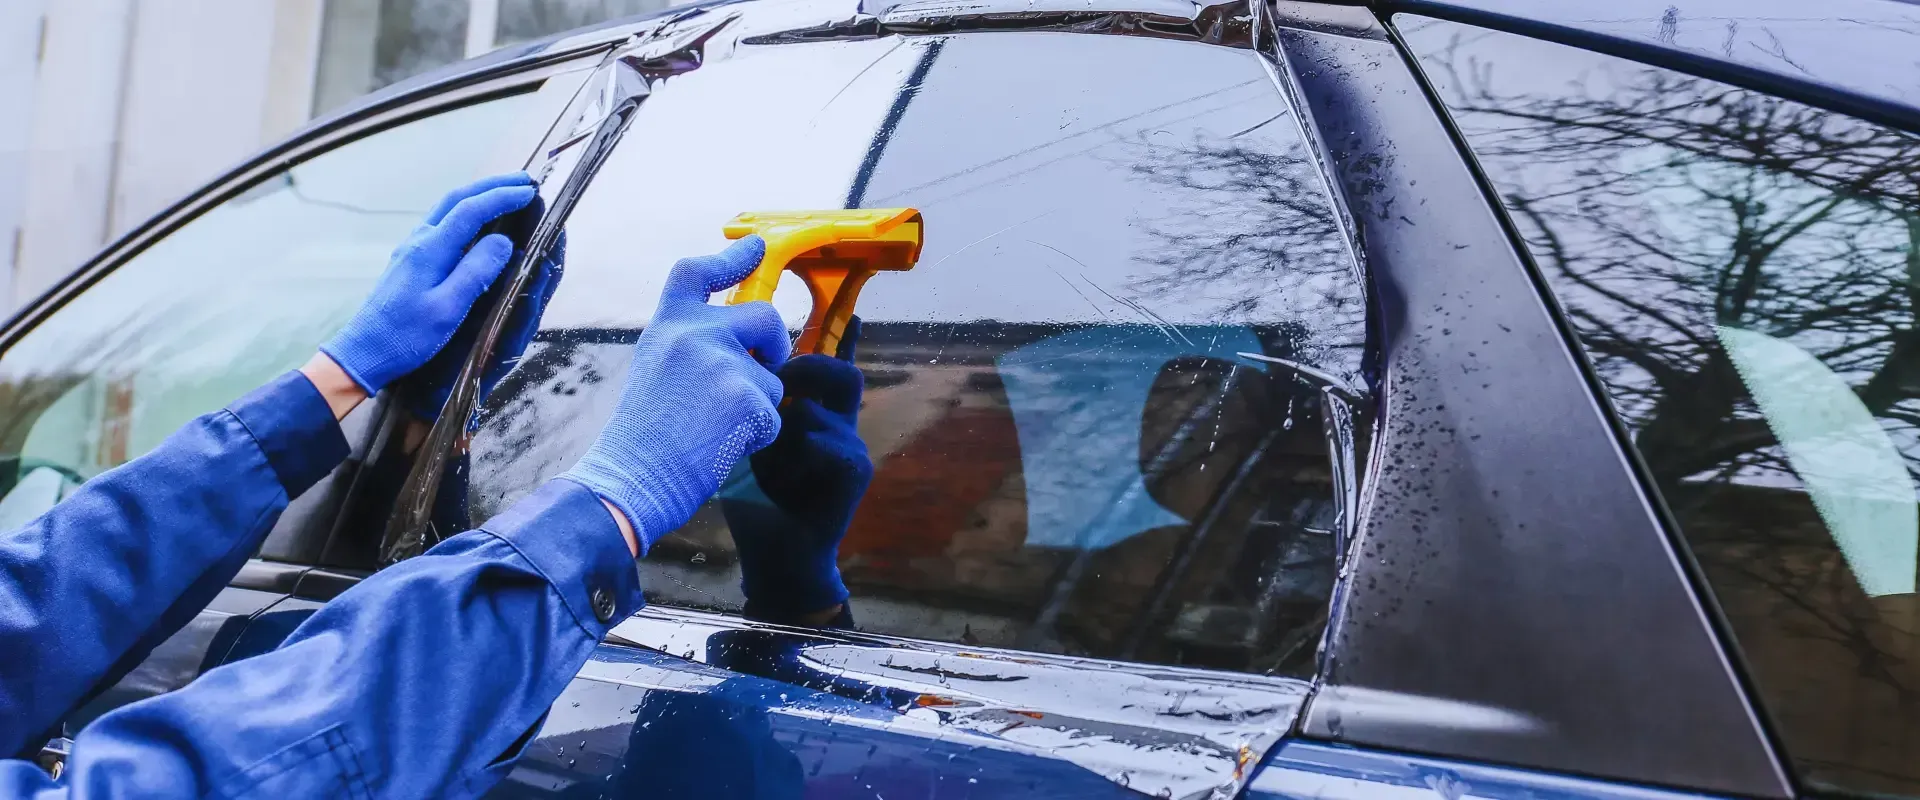
Professional vs. DIY Installation
Benefits of Professional Installation
Professional installers offer:
- Proper preparation techniques
- Clean installation environment
- High-quality materials
- Expert application methods
- Warranty coverage
DIY Risks and Challenges
DIY installation risks include:
- Improper adhesive application
- Dust and debris contamination
- Uneven film placement
- Extended drying times
- Potential bubbling issues
Cost Comparison
While DIY might seem cheaper:
- Professional installation: $200-600
- DIY kits: $50-100
- Potential DIY mistakes: Priceless (and not in a good way)
Proper Care During the Drying Period
Essential Maintenance Tips
Follow these guidelines:
- Park in shade when possible
- Avoid car washes for 1-2 weeks
- Keep windows rolled up completely
- Don't touch or clean the windows
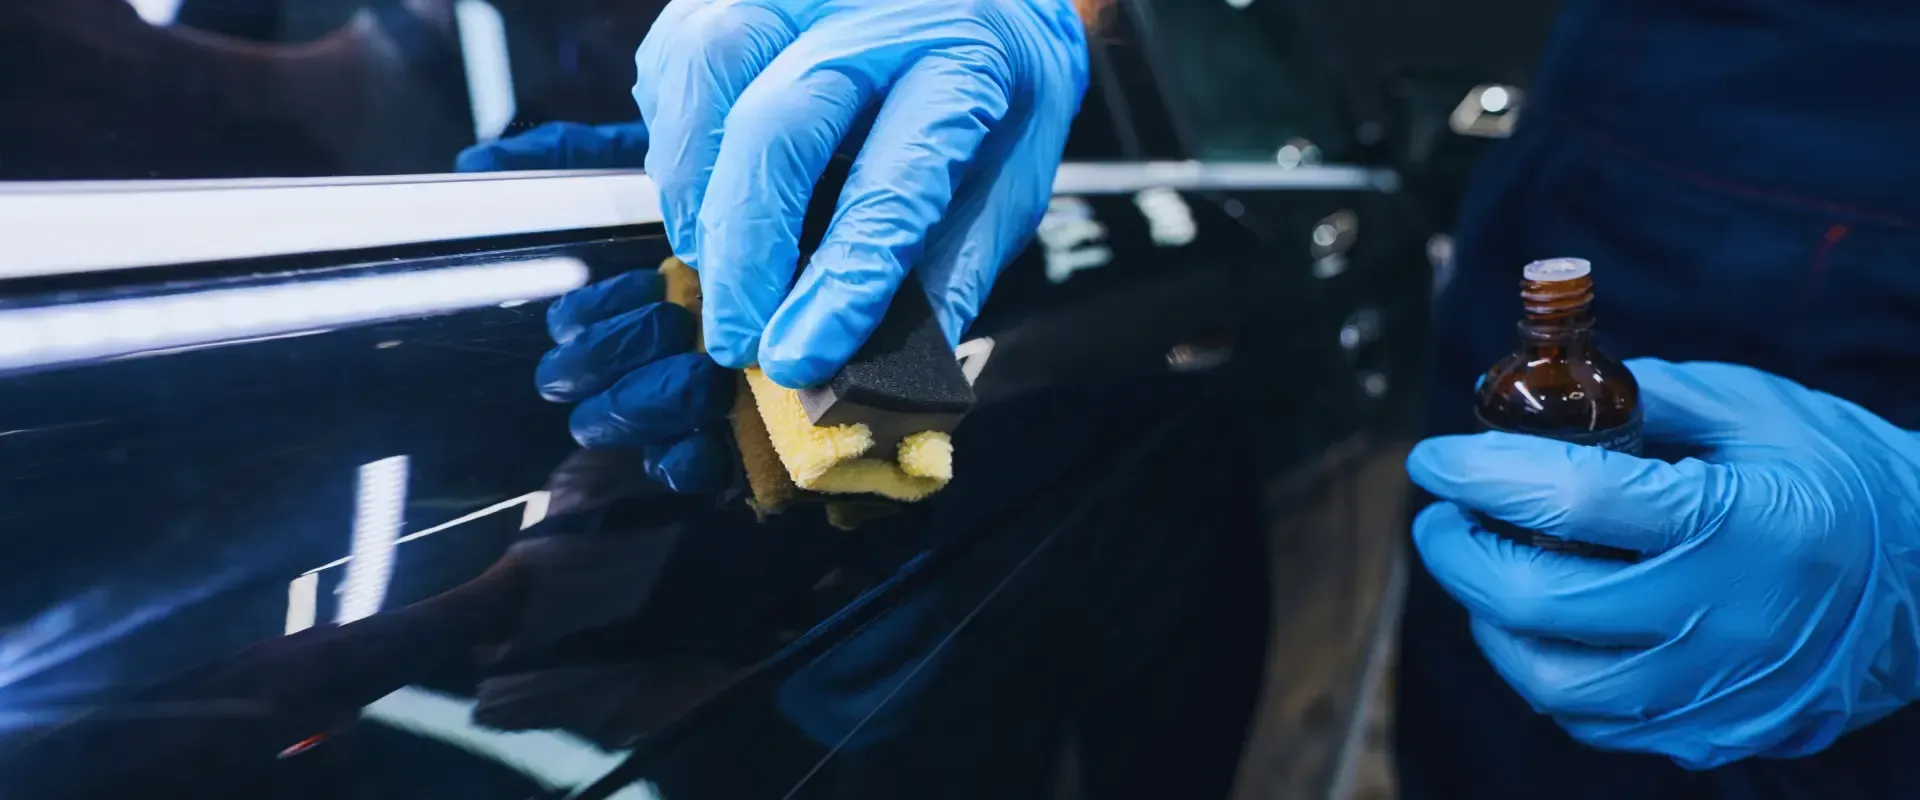
Cleaning Guidelines
After curing, clean properly:
- Use ammonia-free cleaners
- Apply with soft microfiber cloths
- Avoid abrasive materials
- Clean gently to protect the film
Warning Signs of Problems
Watch for these red flags:
- Peeling edges
- Purple discoloration
- Bubbles that won't disappear
- Grainy or rough texture
The key to successful window tinting lies in patience during the drying process. While waiting 2-4 days might seem inconvenient, it's a small price to pay for years of benefits. Follow these guidelines, and you'll enjoy properly installed, perfectly dried window tint that enhances your car's appearance and functionality for years to come.
Remember, when in doubt, consult your tint installer or wait an extra day before rolling down your windows. It's better to be safe than sorry when it comes to protecting your investment in window tinting.